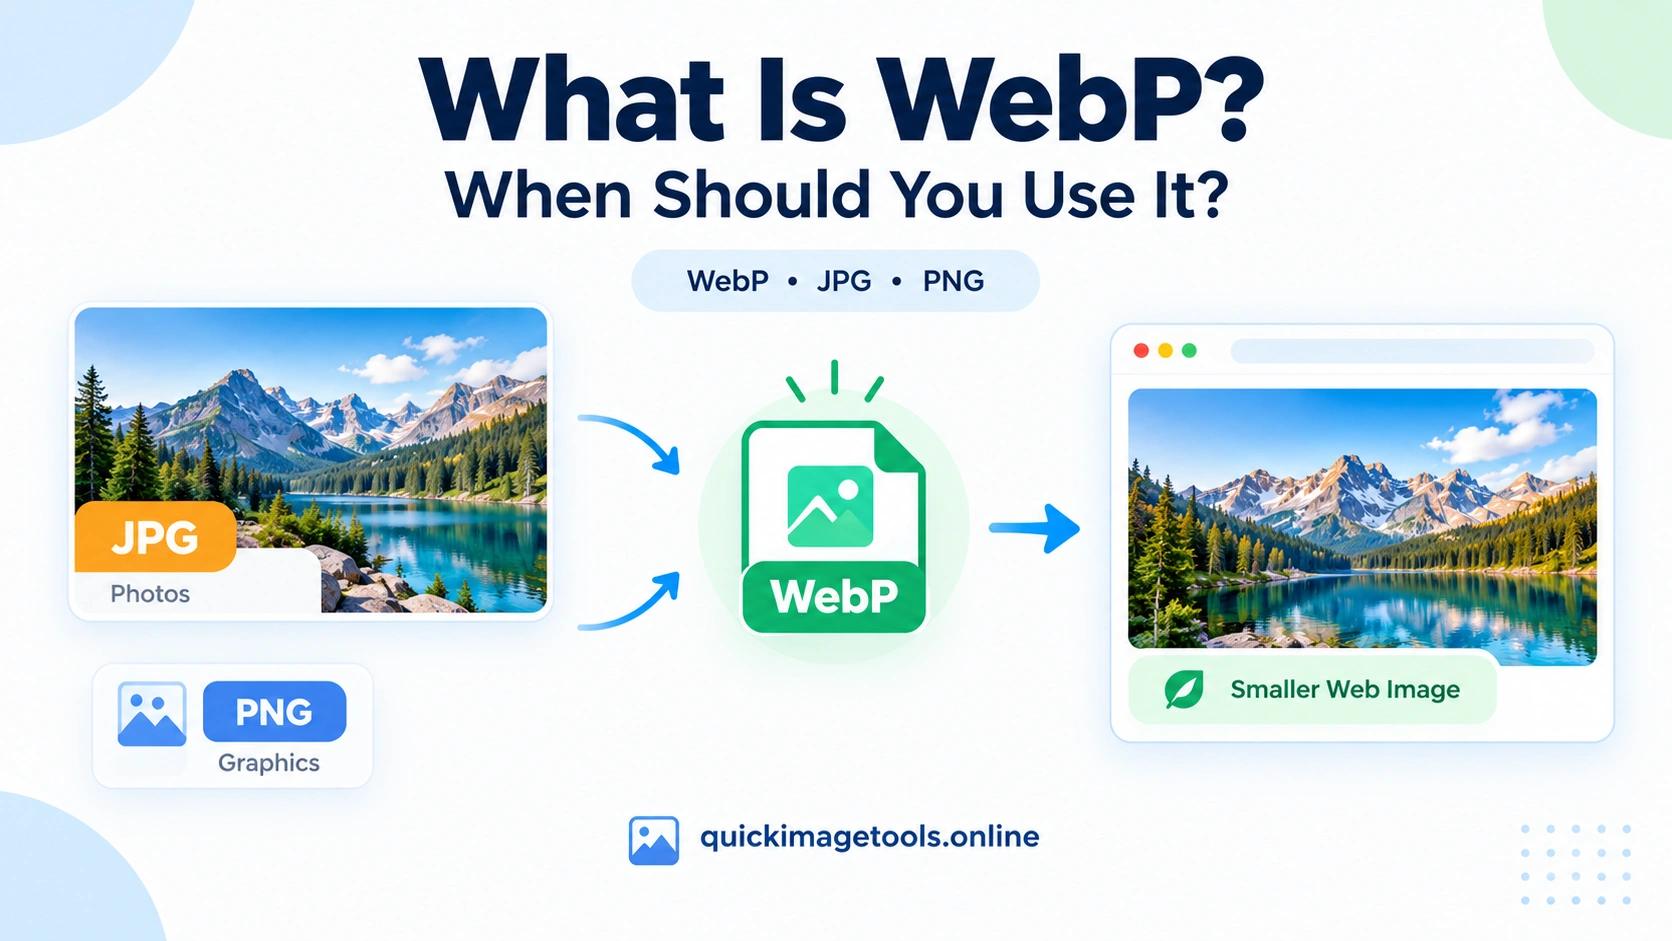
If you have worked with website images, you have probably seen the .webp file extension. It may look like another image format, but WebP was designed with the web in mind.
The main idea is simple: WebP can provide smaller image files while maintaining good visual quality.
That can make it useful when you are preparing images for a website, blog, online store, or other digital project.
Still, WebP is not automatically the right choice for every image. The best format depends on the type of image, the quality you need, and where you plan to use it.
In this guide, we will explain what WebP is, how it compares with JPG and PNG, when to use it, and how to convert images to WebP.
What Is WebP?
WebP is an image format developed by Google for images on the web.
It supports both lossy and lossless compression. It can also support transparency and animation. Because of this combination, WebP can handle many of the jobs traditionally associated with JPG, PNG and GIF.
For example, you might use WebP for:
- Website photos
- Blog images
- Product images
- Illustrations
- Graphics with transparency
- Some animated images
The important part is that WebP gives you several compression options instead of being limited to one type of image compression.
Why Was WebP Created?
Large image files can take longer to transfer and display, especially when a webpage contains many images.
WebP was created to make images more efficient for the web. Google’s documentation describes WebP as a modern image format that supports both lossy and lossless compression and is designed to produce smaller web images.
That does not mean every WebP file will always be smaller than every JPG or PNG.
The final size depends on the original image, compression settings, dimensions and image content.
Therefore, it is better to compare the actual files rather than assume one format will always win.
WebP vs JPG
JPG has been used on the web for many years. It remains a practical format for photographs and other images with many colors.
WebP can often reduce the file size further while maintaining good visual quality.
For example, imagine you have a large photograph from a camera.
You could resize the image first and then save it as JPG. Alternatively, you could resize it and convert it to WebP.
The result depends on the settings, but WebP gives you another option when file size matters.
If you want to understand the difference between JPG and PNG first, read our guide:
JPG vs PNG: Which Image Format Should You Use?
That comparison explains where JPG and PNG fit before you add WebP to the mix.
WebP vs PNG
PNG is useful when you need transparency or sharp graphics.
For example, a logo, interface graphic or illustration may work well as PNG.
WebP also supports transparency. That makes it useful when you want a transparent image without automatically using a PNG file.
Google’s WebP documentation notes that both lossy and lossless WebP can support transparency.
However, the best choice still depends on the image.
A detailed graphic may look excellent as WebP. Another image may need PNG because of how it is used in a particular workflow.
Does WebP Reduce Image Quality?
It can, but that depends on the compression mode and settings.
WebP supports lossy compression. With lossy compression, some image information is discarded to reduce the file size.
It also supports lossless compression. With lossless compression, the image can be reconstructed without losing pixel information.
That gives you more control.
If your priority is the smallest practical file size, you can test a lossy WebP. If preserving the image data is more important, lossless WebP may be more suitable.
The key is to inspect the result instead of choosing a setting blindly.
When Should You Use WebP?
WebP can be a good option when you are preparing images for a website.
Here are some common situations.
1. Website photographs
Photos can contain a lot of visual information.
A properly compressed WebP version can reduce the amount of data that browsers need to download.
Before converting, however, resize an unnecessarily large photo. There is little benefit in keeping a huge image when the website only displays a much smaller version.
You can use our Image Resizer to change the dimensions first.
2. Blog images
Blog posts often contain several images.
If every image is unnecessarily large, the page can become heavier than it needs to be.
A useful workflow is:
Resize → Compress → Convert → Check the result
For the compression step, you can use our Image Compressor.
If you want a deeper explanation of compression, read How to Compress an Image Without Losing Too Much Quality.
3. Images that need transparency
WebP can support transparency, so it can be useful for certain graphics, icons and other images that need a transparent background.
Still, check the final result before replacing an existing PNG.
Transparency is only one part of the decision. File size, visual quality and compatibility with your workflow also matter.
4. Website performance
Smaller images can reduce the amount of data a webpage needs to transfer.
That is especially useful when a page contains many images.
However, image format is only one part of image optimization.
Image dimensions, compression level, responsive image delivery and other website settings also matter.
When Should You Keep JPG?
You do not need to convert every JPG to WebP.
JPG remains useful for photographs, especially when you already have a properly sized and compressed image.
For example, if a 1200-pixel-wide JPG already looks good and has a reasonable file size, converting it simply because WebP is newer may not produce a meaningful improvement.
Test the output first.
If you want to convert a JPG into another format, you can use our JPG to PNG Converter.
You can also compare the result with WebP using our WebP Converter.
When Should You Keep PNG?
PNG still has useful applications.
You may prefer PNG when:
- You need a lossless workflow
- You are working with certain graphics
- Your existing software or workflow depends on PNG
- You need a specific PNG-based process
- You want to keep the original PNG as a master file
You can also convert PNG images to JPG when transparency is not needed.
Our PNG to JPG Converter lets you convert a PNG image into JPG directly in your browser.
WebP Is Not a Replacement for Everything
It is tempting to think of WebP as a universal replacement for every image format.
That is too simple.
Different formats have different strengths.
A practical approach is to choose the format based on the job.
For example:
| Image type | Possible choice |
|---|---|
| Website photograph | WebP or JPG |
| Transparent graphic | WebP or PNG |
| Existing JPG photo | JPG or WebP |
| Existing transparent PNG | PNG or WebP |
| Simple web graphic | WebP, PNG or SVG depending on the image |
| Animated image | WebP or another suitable animation format |
There is no need to force every image into the same format.
How to Convert an Image to WebP
Converting an image does not have to be complicated.
A simple workflow looks like this:
Step 1: Choose the original image
Start with the highest-quality version you reasonably need.
Avoid repeatedly converting the same compressed image from one format to another.
Step 2: Check the dimensions
If the image is much larger than its display size, resize it first.
For example, a huge camera photograph does not need to remain several thousand pixels wide if your website displays it at a much smaller size.
Use our Image Resizer when you need to change its dimensions.
Step 3: Convert it to WebP
Upload your JPG or PNG to our WebP Converter.
Choose a quality level and convert the image.
Step 4: Inspect the result
Open the converted image.
Look closely at:
- Fine details
- Text inside the image
- Edges
- Gradients
- Skin tones
- Transparency
- Overall file size
If the image looks good and the file is smaller, you have a useful result.
Step 5: Keep the original
Do not delete your original image immediately.
Keep the source file until you are satisfied with the converted version.
This small habit can save you trouble later.
Should You Compress Before Converting?
In many cases, it makes sense to think about dimensions and compression together.
Suppose you have a 5000 × 3500 pixel photograph that your website displays at 1000 pixels wide.
Converting that huge image directly to WebP may still leave you with a file that is larger than necessary.
Resize it first.
Then convert and test the WebP output.
You can also read our image compression guide for a practical workflow.
What About Image Cropping?
Sometimes the problem is not the format.
The image may simply contain more content than you need.
For example, a blog thumbnail might have a large empty area around the subject. Cropping the image can remove unnecessary pixels before you compress it.
Use our Image Cropper when you need to remove unwanted areas.
After cropping, you can resize and convert the result.
What About Rotating or Flipping Images?
You can also finish basic image editing before conversion.
For example, you may need to rotate a photograph before uploading it.
Our Image Rotator can handle common JPG, PNG and WebP files.
If you need to mirror an image, use the Image Flipper instead.
Doing these simple edits before your final export can keep your workflow organized.
What About File Size?
Image format is only one factor that affects file size.
Dimensions matter too.
A 4000-pixel image will usually contain much more data than a 1000-pixel version of the same image.
Compression settings matter as well.
If you are unsure about file-size units, our guide KB vs MB vs GB: What’s the Difference? can help explain the basics.
You can also use our File Size Converter to convert between common file-size units.
Common WebP Mistakes to Avoid
Converting without resizing
A huge image can remain huge even after conversion.
Resize it when the original dimensions are unnecessarily large.
Using extremely low quality
Smaller is not always better.
If you push compression too far, details can become soft or artifacts can become visible.
Deleting the original
Keep your source image until you have checked the converted version.
Converting everything automatically
Not every image needs conversion.
Compare the original and WebP versions first.
Ignoring transparency
If your image uses transparency, check the WebP result carefully.
Make sure the transparent areas still behave as expected.
A Simple WebP Workflow for Your Website
If you regularly publish images, you can keep the process simple:
- Choose the original image.
- Crop unnecessary areas.
- Resize the image to a practical dimension.
- Compress it when needed.
- Convert it to WebP.
- Check the visual quality.
- Compare the final file size.
- Keep the original source file.
- Upload the optimized image to your website.
This approach avoids chasing file size alone.
The goal is a useful image that looks good and does not carry unnecessary data.
Explore More Image Tools
If you are working with different image formats, these tools can help:
- Image Compressor
- Image Resizer
- Image Cropper
- Image Rotator
- Image Flipper
- JPG to PNG Converter
- PNG to JPG Converter
- WebP Converter
- Image to Base64 Converter
- Base64 to Image Converter
- File Size Converter
You can also visit the full Image & File Tools directory to see all available tools.
Frequently Asked Questions
Is WebP better than JPG?
Neither format is automatically better for every situation.
WebP offers lossy and lossless compression and can often produce smaller files. JPG remains a practical option for many photographs.
Compare the actual output before choosing.
Is WebP better than PNG?
WebP can be a useful alternative to PNG because it supports both lossy and lossless compression as well as transparency.
However, PNG still has legitimate uses. The right choice depends on your image and workflow.
Does WebP support transparency?
Yes. WebP supports transparency through an alpha channel. It can therefore be used for certain images that would traditionally be saved as PNG.
Does WebP reduce file size?
WebP can produce smaller files than comparable JPG or PNG images, but the result depends on the image and compression settings.
Google’s documentation reports size advantages for WebP in its comparisons, but those figures should not be treated as a guarantee for every image.
Can I convert JPG to WebP?
Yes.
You can use our WebP Converter to convert supported JPG and PNG images to WebP.
Can I convert PNG to WebP?
Yes.
PNG images can be converted to WebP. However, check transparency and image quality after conversion.
Should I use WebP for every website image?
Not necessarily.
WebP is useful for many website images, but you should still consider the image type, required quality, transparency and your website workflow.
Final Thoughts
WebP is a useful image format for modern websites because it combines flexible compression with support for features such as transparency.
However, the best image workflow is not about choosing the newest format automatically.
Instead, look at the actual image.
Resize unnecessary dimensions. Compress carefully. Convert when it makes sense. Then check the final result.
That simple process can help you keep website images practical without sacrificing more quality than necessary.
If you want to test WebP for yourself, start with our free WebP Converter and compare the converted image with your original.