I noticed the problem the first time I tried uploading a large photo to a website.
The image looked perfectly fine on my computer, but the file was several megabytes. The upload took longer than expected, and I started wondering whether I really needed such a large file for a normal web page.
That is when I learned an important lesson about images: a picture can look great while still being much larger than it needs to be.
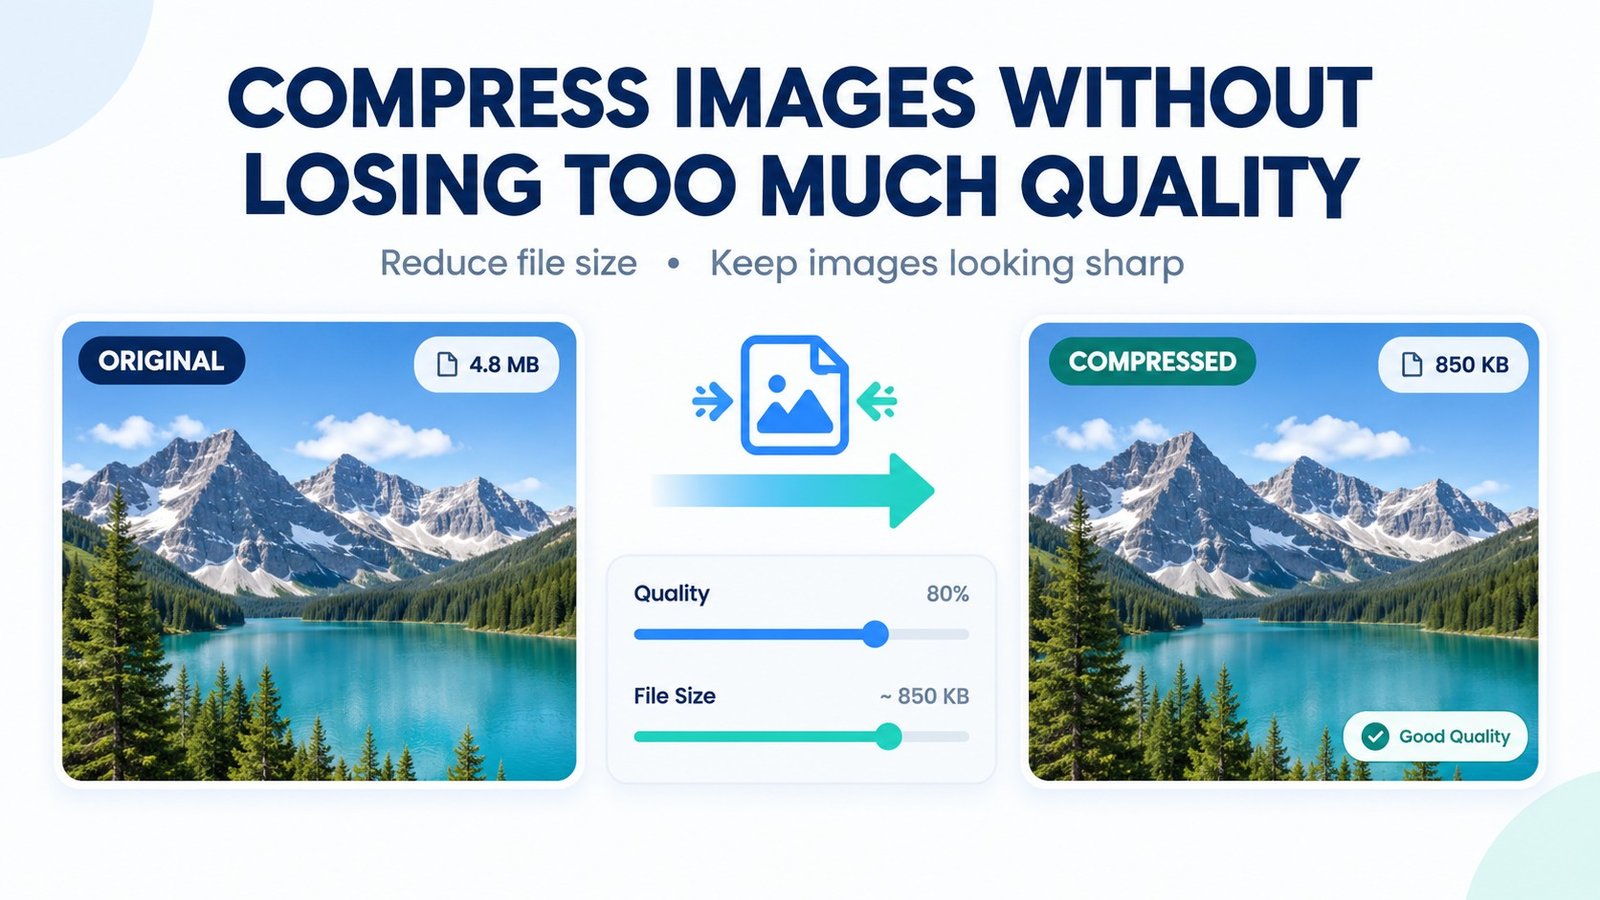
Compressing an image can reduce its file size and make it easier to upload, store, share, or use on a website. The tricky part is finding a balance between smaller files and acceptable image quality.
In this guide, I’ll explain how to compress an image, what settings matter, which mistakes to avoid, and when you should use JPG, PNG, or WebP.
What Does Image Compression Actually Do?
Image compression reduces the amount of data stored in an image file.
A photo from a modern phone can easily be several megabytes. For a website, that can be unnecessary, especially when the image is displayed at a much smaller size.
Compression can reduce that file size.
However, the result depends on the image format and compression method.
Some compression methods remove information that is less noticeable to the human eye. This is called lossy compression. Other methods preserve the original image information more closely.
The important thing is that smaller does not automatically mean better.
If you compress an image too aggressively, you may notice blurry details, strange edges, blocky areas, or other visible artifacts.
The goal is usually to make the file smaller while keeping the image looking good enough for its intended use.
Why Should You Compress Images?
There are several practical reasons to reduce image file size.
1. Faster Website Pages
Large images can require more data to download.
If your website contains several large photos, visitors may need to download much more information before the page is fully loaded.
Smaller images can help reduce the amount of data needed.
That can be particularly useful for visitors using mobile connections.
2. Easier Uploads
Some websites have strict file-size limits.
You may have experienced this when uploading a profile picture, blog image, form attachment, or product photo.
A 6 MB image might be rejected, while a properly compressed version could fit comfortably within the limit.
3. Less Storage
If you keep hundreds or thousands of images, file size adds up quickly.
Reducing unnecessary file sizes can help you use storage more efficiently.
This can matter for websites, cloud storage, photo collections, and project folders.
4. Easier Sharing
Smaller files are also easier to send through messaging apps, email, and other platforms.
You may not notice the difference with one image. However, the difference becomes more noticeable when you are sending many large files.
The Biggest Mistake: Compressing Too Much
One of the easiest mistakes is dragging the quality setting all the way down because you want the smallest possible file.
I have done this myself.
The file size looked impressive after compression, but the image did not.
Small text became harder to read. Fine details disappeared. Some edges looked slightly blurry.
That taught me that the smallest possible file is not always the right target.
Instead, start with moderate compression and inspect the result.
If the image still looks good, you can stop there.
If the file is still too large, increase the compression gradually.
How to Compress an Image Online
For a quick task, an online image compressor is often the simplest option.
With a browser-based tool, you generally do not need to install image-editing software.
Here is a simple workflow.
Step 1: Choose Your Image
Start with the original image whenever possible.
Do not repeatedly compress an already compressed copy unless you have no alternative.
Keeping the original gives you something to return to if the result does not look right.
Step 2: Check the Original File
Before compressing it, check the image dimensions and file size.
For example, you might have an image that is:
- 4000 × 3000 pixels
- 4.5 MB in size
That may be much larger than necessary for a small website image.
Knowing the original size makes it easier to judge the final result.
Step 3: Select the Compression Quality
If the tool provides a quality slider, start around the middle or slightly above the middle.
Do not immediately choose the lowest setting.
For photographs, JPG or WebP compression can often reduce file size considerably while keeping the image visually acceptable.
PNG images behave differently, especially when they contain transparency, text, or simple graphics.
Step 4: Compare the Result
Look closely at the compressed image.
Check areas containing:
- Small text
- Hair
- Fine lines
- Skin details
- Shadows
- High-contrast edges
These areas can reveal compression problems quickly.
If the image still looks good, you have probably found a reasonable balance.
Step 5: Download the Compressed Image
Once you are happy with the result, download it.
Keep the original file separately.
That way, you can create another version later without starting from a compressed copy.
Try Our Image Compressor
If you want to test this process directly, you can use our Image Compressor.
The tool is designed for common JPG, PNG, and WebP compression tasks.
You can upload an image, adjust the available settings, compare the result, and download the processed file.
Because browser-based image processing can depend on your device and browser, very large images may require more memory or processing time.
Compression vs Resizing: They Are Not the Same
This is another mistake I see often.
Compression and resizing solve different problems.
Compression reduces file size.
Resizing changes the image dimensions.
For example, imagine a photo that is 5000 pixels wide.
You could compress that image while keeping it at 5000 pixels wide.
The file might become smaller, but the dimensions remain the same.
Alternatively, you could resize it to 1600 pixels wide.
That can reduce the amount of image data significantly, especially when the original image is much larger than the size needed on your website.
Sometimes the best result comes from doing both.
When Should You Resize an Image?
Consider resizing when the image dimensions are much larger than the place where you plan to use it.
For example, uploading a 6000-pixel-wide photo as a small blog thumbnail usually does not make much sense.
The website may only display the image at a fraction of that width.
In that situation, resizing the image first can be useful.
You can use our Image Resizer to change image dimensions before or after compression.
The right size depends on where the image will be used.
A full-width blog image, profile picture, product image, and social media graphic may all need different dimensions.
JPG, PNG, or WebP?
The format you choose can have a noticeable effect on file size.
JPG
JPG is commonly used for photographs and images containing many colors.
It uses lossy compression, so quality can decrease when compression is pushed too far.
JPG is often a practical choice for photos.
PNG
PNG is useful when you need transparency or when an image contains graphics, text, icons, or other elements that benefit from lossless-style compression.
However, a PNG photograph can sometimes be much larger than an equivalent JPG or WebP version.
WebP
WebP is another option for web images.
It can provide smaller files while maintaining good visual quality, depending on the image and settings used.
If you want to convert an existing JPG or PNG image to WebP, you can use our WebP Converter.
Remember to check whether the website, application, or platform you are uploading to supports WebP.
A Simple Compression Workflow I Recommend
When I need to prepare an image for a website, I prefer a simple process rather than randomly changing settings.
First, check the dimensions
Ask yourself whether the image is larger than necessary.
If it is, resize it.
Next, choose the right format
Use JPG for many photographs.
Use PNG when transparency or certain graphic details matter.
Consider WebP when the destination supports it.
Then compress the image
Start with moderate settings.
Do not chase the smallest possible file.
Finally, inspect the result
Open the compressed image and compare it with the original.
Look at important details before publishing it.
This workflow only takes a few minutes, but it can prevent many common problems.
Common Image Compression Mistakes
Using the wrong format
A large PNG photograph may not be the best choice for a website.
Likewise, converting every image to JPG can be a bad idea when transparency is important.
Compressing the original repeatedly
Keep an untouched original file.
Create compressed copies from that original instead.
Ignoring image dimensions
A huge image can remain unnecessarily large even after compression.
If the dimensions are excessive, resize it too.
Choosing the lowest quality
Smaller is not always better.
A slightly larger file that looks clean can be more useful than a tiny file full of visible artifacts.
Forgetting to check the final image
Never assume the result is fine just because the file size decreased.
Open it and inspect it.
How Much Should You Compress an Image?
There is no single compression percentage that works for every image.
A photograph, logo, screenshot, illustration, and transparent graphic can all respond differently.
Instead of asking, “What is the perfect compression setting?” ask:
“What is the smallest file size that still looks good for this particular use?”
That is a much more useful question.
For a large photo displayed on a website, moderate compression may be enough.
For an image containing small text, you may want to preserve more quality.
For a temporary image shared in a message, a smaller file might be perfectly acceptable.
The intended use matters.
What About Image Metadata?
Image files can contain metadata such as camera information, timestamps, orientation data, and other details.
Browser-based image processing can sometimes change or remove metadata.
If metadata is important for your workflow, check the processed file before replacing your original.
This is another reason to keep the original image safely stored.
Can You Compress an Image Without Losing Quality?
You can often reduce an image’s file size while keeping quality high enough that the difference is difficult to notice.
However, there is no universal method that makes every image dramatically smaller with absolutely no trade-off.
The result depends on the original format, dimensions, image content, compression method, and quality settings.
That is why comparing the original and compressed versions is more reliable than following one fixed setting.
Quick Checklist Before You Upload an Image
Before adding an image to your website, ask yourself:
- Is the image larger than it needs to be?
- Are the dimensions appropriate?
- Am I using the right file format?
- Can I reduce the file size without visible quality problems?
- Did I check the compressed version?
- Did I keep the original file?
If the answer to these questions is yes, your image is probably ready to use.
Frequently Asked Questions
Does compressing an image reduce its quality?
It can.
The amount of quality loss depends on the format and compression settings. Moderate compression can often reduce file size while keeping the image looking good.
Is it better to resize or compress an image?
It depends on the problem.
Resize an image when its dimensions are unnecessarily large. Compress it when the file size is too large. In some cases, doing both gives you the best result.
Is JPG smaller than PNG?
For many photographs, JPG files are smaller than PNG files.
However, the result depends on the image. PNG can be more suitable for transparency, graphics, and images containing text or simple shapes.
Is WebP better than JPG?
Neither format is automatically better for every situation.
WebP can provide efficient compression for many web images, while JPG remains widely supported and useful for photographs.
Choose based on the requirements of the website or platform where the image will be used.
Can I compress an image on my phone?
Yes.
Many mobile browsers can use online image compression tools. The exact experience depends on your device, browser, image size, and available memory.
Should I delete the original image after compression?
I would not recommend it.
Keep the original whenever possible. You may need it later to create another version with different dimensions or quality settings.
Final Thoughts
Image compression does not have to be complicated.
The biggest lesson is to stop chasing the smallest possible file and start looking for the best balance between file size and visual quality.
Check the dimensions first. Choose a suitable format. Compress gradually. Then inspect the result.
For a quick job, you can use our Image Compressor. If the image is also much larger than necessary, try the Image Resizer as part of the same workflow.
Once you get used to checking dimensions, formats, and file sizes before uploading, preparing images becomes much easier.
3 thoughts on “How to Compress an Image Without Losing Too Much Quality”