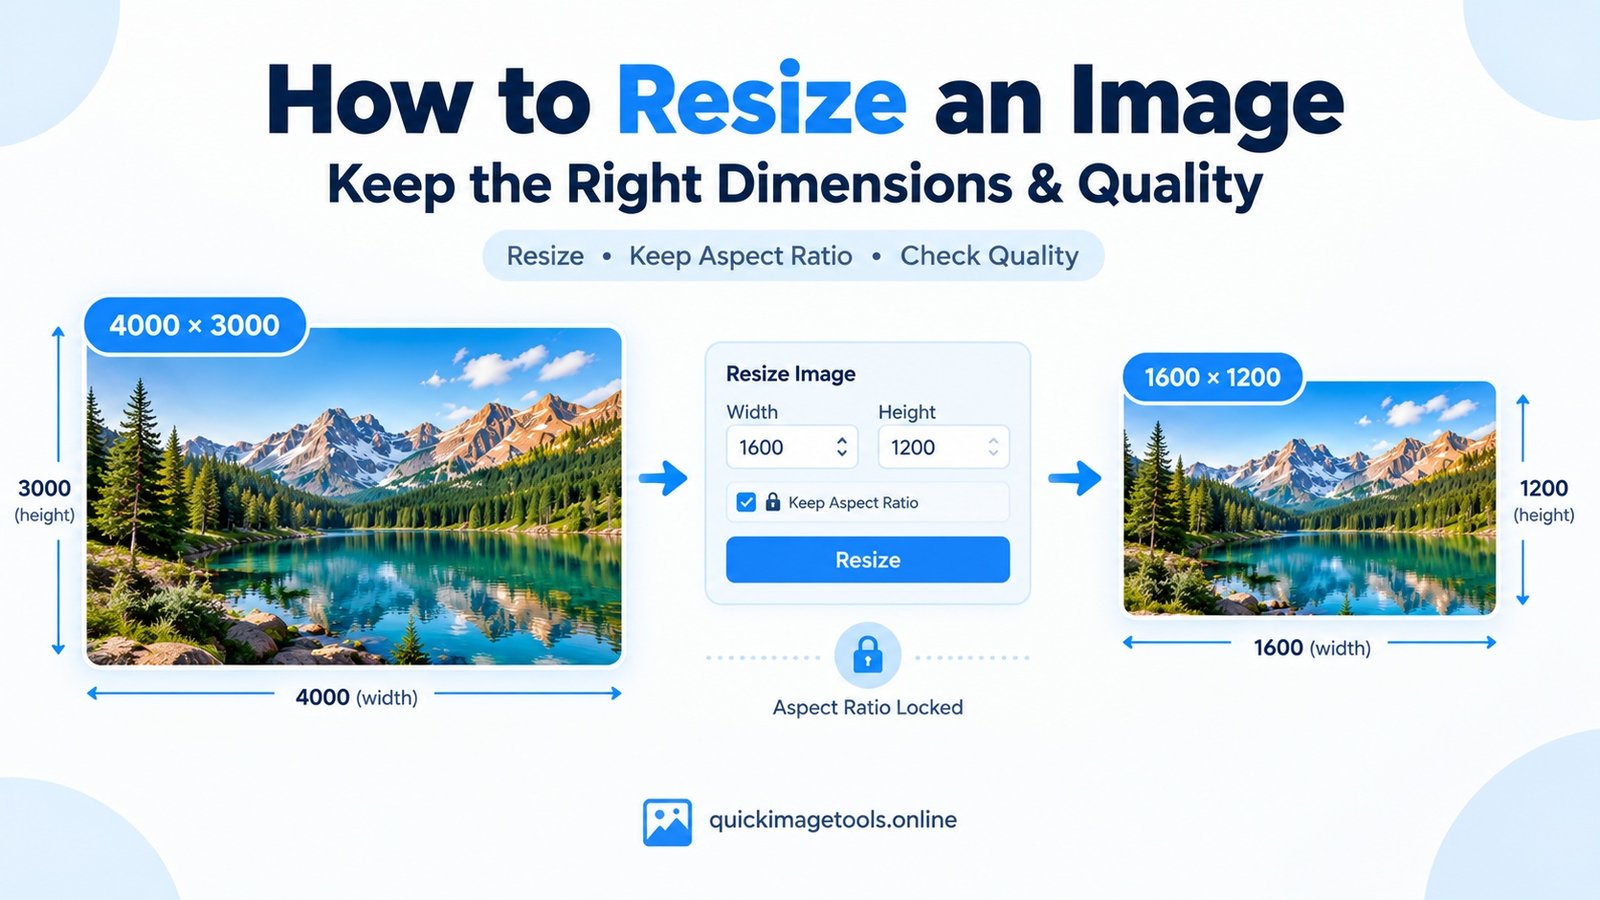
Need to make an image smaller for a website, social post, email, or online form? Resizing an image changes its pixel dimensions. The goal is to get the size you need without making the image look soft, stretched, or blurry.
In this guide, you’ll learn how to resize an image correctly, choose the right dimensions, keep the aspect ratio, and avoid common mistakes. You can also use our Image Resizer to resize an image directly in your browser.
What Does It Mean to Resize an Image?
Resizing an image means changing its width and height in pixels. For example, you might change a 4000 × 3000 image to 1600 × 1200.
That changes the image dimensions. It does not automatically mean that you are compressing the file.
This difference matters. Resizing changes the number of pixels. Compression changes how the image data is stored. You can do one, the other, or both.
If you also need to reduce the file size, read our guide on how to compress an image without losing too much quality.
Why Resize an Image?
Large images can be inconvenient. They may take up more storage, take longer to upload, or exceed the size limit of a website or form.
For example, a camera photo might be several thousand pixels wide. You may only need a 1200-pixel image for a blog post.
Resizing can also help when a website asks for a specific image dimension. Instead of uploading a huge original, you can create a version that fits the requirement.
However, resizing is not a magic fix for every image problem. If the file is still too large after you resize an image, compression can reduce the file size further.
Choose the Right Image Dimensions
Before you resize an image, decide where it will be used.
A blog image, profile picture, product image, email attachment, and social media graphic may all need different dimensions.
For example, a large landscape image might work well at 1600 pixels wide for a website. A smaller image may be enough for a thumbnail.
The important part is to check the actual requirement first. If a website asks for 1200 × 675 pixels, create an image close to that size instead of guessing.
Also, avoid increasing a small image to a much larger size unless you have a specific reason. Upscaling can make an image look soft because the software has to create additional pixels.
Keep the Aspect Ratio Locked
The aspect ratio describes the relationship between an image’s width and height.
Suppose your original image is 2000 × 1500 pixels. Its ratio is 4:3.
If you resize the width to 1200 pixels while keeping the same ratio, the height becomes 900 pixels.
The image keeps its original shape.
If you change the width to 1200 and the height to 600, you create a different ratio. The result may look stretched or squashed.
That is why an aspect-ratio lock is useful. It lets the tool calculate the second dimension automatically.
When you use our Image Resizer, you can keep the aspect ratio locked while changing the width or height.
How to Resize an Image Online
You do not need advanced editing software for a simple resize.
Our browser-based Image Resizer can handle the basic job in a few steps.
- Open the Image Resizer.
- Upload your JPG, PNG, or WebP image.
- Check the current width and height.
- Enter the new width or height.
- Keep the aspect ratio locked when you want to preserve the original shape.
- Choose an output format and quality.
- Download the resized image.
- Open the downloaded file and check it before using it.
The process is simple because the tool handles the image inside your browser.
When you finish, compare the new image with the original. Look at small text, faces, sharp edges, and fine details. These areas can reveal quality problems quickly.
Resize an Image or Compress It First?
For many everyday tasks, resizing before compression makes sense.
Imagine you have a 4000-pixel-wide photo that you only need at 1600 pixels wide. There is little reason to compress the full 4000-pixel version if the final image will be much smaller.
First, resize it to the dimensions you actually need. Then, if the file is still too large, compress it.
This two-step workflow can be more practical than trying to solve everything with compression alone.
Our Image Compressor can help with the second step. You can also read our detailed guide on how to compress an image.
Choose the Right Output Format
The output format can affect both quality and file size.
JPG works well for many photographs and other images with lots of colors. It can produce smaller files, although repeated or aggressive compression can reduce image quality.
PNG is useful when you need transparency or want to preserve sharp graphics. However, PNG files can become much larger than JPG files for some photographs.
WebP is another option for websites. It supports lossy and lossless compression and can also support transparency.
If you are unsure which format to choose, read our guide JPG vs PNG: Which Image Format Should You Use?. You can also learn what WebP is and when to use it.
Avoid Stretching Small Images
One common resizing mistake is making a small image much larger.
For example, a 500 × 500 image may look fine at its original size. Increasing it to 2500 × 2500 does not magically create the missing detail.
The software has to estimate new pixels. As a result, edges may look softer and small details may disappear.
Whenever possible, start with a source image that is large enough for the final use.
Do Not Resize the Same Image Again and Again
Another easy mistake is repeatedly resizing an already resized file.
Each new edit can introduce more changes, especially when you save a JPG with lossy compression.
A better workflow is to keep the original image. Create your resized version from that original whenever you need another size.
For example, keep the original photo in a separate folder. Then create a website version, thumbnail version, or social version from the original.
This approach gives you more control over quality.
What Image Size Should You Use for a Website?
There is no single image dimension that works for every website.
The right size depends on the layout, display area, device, and purpose of the image.
A huge image can waste bandwidth when the page only displays a smaller version. On the other hand, an image that is too small may look blurry when displayed at a larger size.
So, start with the actual display area. If your content area displays an image at around 1200 pixels wide, a source around that width may be more practical than uploading a 5000-pixel original.
You should also consider the image’s file size. A correctly sized image can still be unnecessarily heavy. That is where compression helps.
Google recommends using sharp, relevant images and applying image optimization techniques that balance image quality and page performance. For more information, see the Google Image SEO Best Practices.
Resize Images for Blog Posts
Blog images often need a balance between appearance and file size.
Start by checking the space where the image will appear. Then choose dimensions that fit that area.
For a featured image, use the dimensions recommended by your theme or content layout. If your theme uses a fixed ratio, keep that ratio when you resize an image.
After resizing, check the image on both desktop and mobile screens. Small text and important details should remain clear.
You can also read our JPG vs PNG guide if you are unsure which format to use for a blog image.
Resize Images for Email
Email attachments have practical size limits.
A modern phone photo can be much larger than you need for a simple email. Resizing the photo can make the attachment easier to send and download.
For a normal email, you usually do not need the full camera resolution unless the recipient needs the original detail.
Resize a copy of the photo instead of changing your original file.
Resize Images for Forms and Uploads
Some websites require specific image dimensions or file types.
For example, an application form might ask for a photo within a certain pixel range. A profile system may also have a maximum file size.
Read the upload instructions carefully before editing.
If the site requires both dimensions and file size, resizing alone may not be enough. Resize the image first, then compress it if necessary.
You can use our File Size Converter when you need to understand units such as KB, MB, and GB. Remember that a unit conversion does not reduce a file’s actual size. It only converts the measurement.
When Cropping Is Better Than Resizing
Sometimes resizing is not the real problem.
Imagine a wide photo that needs to fit into a square space. If you simply force the image into square dimensions, the subject may look stretched.
Cropping is usually better in that situation.
Cropping removes unwanted areas while keeping the main subject at a natural shape. You can crop the image first and then resize the cropped version.
Our Image Cropper can help when you need to remove extra space or create a different composition.
Rotate or Flip Before Finalizing
Orientation also matters.
If an image is sideways, rotate it before preparing the final version. If you need a mirrored version, use a flip instead of manually editing the image.
You can use our Image Rotator for 90-degree or 180-degree rotations. Our Image Flipper can mirror an image horizontally or vertically.
Doing these edits before the final export can keep your workflow simple.
Need to Convert the Image Format?
Resizing and format conversion are separate tasks.
You might resize a PNG and still need a JPG. In another case, you may resize a JPG and then convert it to WebP for a website.
Our JPG to PNG Converter can handle JPG-to-PNG conversion. If you need the opposite direction, use our PNG to JPG Converter.
For WebP output, use our WebP Converter.
The best workflow depends on your final use. Do not convert formats just because a different extension sounds better. Check transparency, quality, compatibility, and file size first.
What About Base64 Images?
Some developers store images as Base64 data instead of normal image files.
If you have Base64 image data, our Base64 to Image Converter can turn it back into an image file. If you need to create Base64 data from an image, use our Image to Base64 Converter.
These tools solve a different problem from resizing. However, they can become useful when an image needs to move between a file-based workflow and a web-development workflow.
A Simple Image Resizing Workflow
Here is a workflow you can reuse whenever you need to resize an image.
- Keep the original image.
- Check where the image will be used.
- Find the required dimensions.
- Crop the image if the composition needs adjustment.
- Resize the image while keeping the aspect ratio.
- Choose the output format based on the image and its purpose.
- Compress the resized file if the file size still needs to come down.
- Check the final image on the actual page or device.
This workflow keeps the process simple. More importantly, it reduces the chance of damaging your original image.
Common Image Resizing Mistakes
Avoid these common problems:
- Changing width and height independently when you need the original shape.
- Enlarging a very small image and expecting extra detail.
- Repeatedly saving the same JPG after multiple edits.
- Resizing to a random dimension without checking the final display area.
- Using PNG for every photograph when another format may work better.
- Compressing an image heavily just to reduce file size.
- Replacing the original instead of keeping a clean master copy.
- Ignoring the file type required by the website or form.
A little planning can prevent most of these issues.
Frequently Asked Questions
Does resizing an image reduce quality?
Resizing can reduce visible detail, especially when you make an image much smaller. Enlarging a small image can also make it look soft. The result depends on the original image, the new dimensions, and the resizing method.
What is the best image size for a website?
There is no universal best size. Use dimensions that match the space where the image will appear. Avoid uploading a much larger image than the layout needs.
Should I resize or compress an image first?
For many tasks, resize first and compress second. That removes pixels you do not need before you reduce the stored file data.
Can I resize JPG, PNG, and WebP images?
Yes. A browser-based image resizer can work with common formats such as JPG, PNG, and WebP. The available output options depend on the tool you use.
Will resizing change the file size?
Usually, yes, but not always in a predictable way. Smaller dimensions often reduce the amount of image data, but the final file size also depends on the format and compression settings.
Can I resize an image without changing its shape?
Yes. Keep the aspect ratio locked. The tool can then calculate the matching height when you change the width, or the matching width when you change the height.
Can I resize an image and convert it at the same time?
Many image tools can resize an image and export it in another format. If your workflow requires a specific conversion, you can also use a dedicated converter after resizing.
Final Thoughts
Resizing an image is simple once you separate dimensions from file size.
Start with the correct display size. Keep the aspect ratio when you want the original shape. Avoid enlarging tiny images. Then compress the final version if you still need a smaller file.
For everyday work, our Image Resizer gives you a quick way to change image dimensions in your browser. When you need more control, combine resizing with cropping, format conversion, and compression.
You can also explore the complete Free Online Image & File Tools collection for other image tasks.
The important part is to work from the original image and choose the final dimensions for the actual job.
1 thought on “How to Resize an Image Without Losing Too Much Quality”