Have you ever taken a photo that looked good, but one part of the image was distracting? Maybe there was too much empty space, an unwanted object near the edge, or the subject was not positioned correctly.
That is where cropping helps.
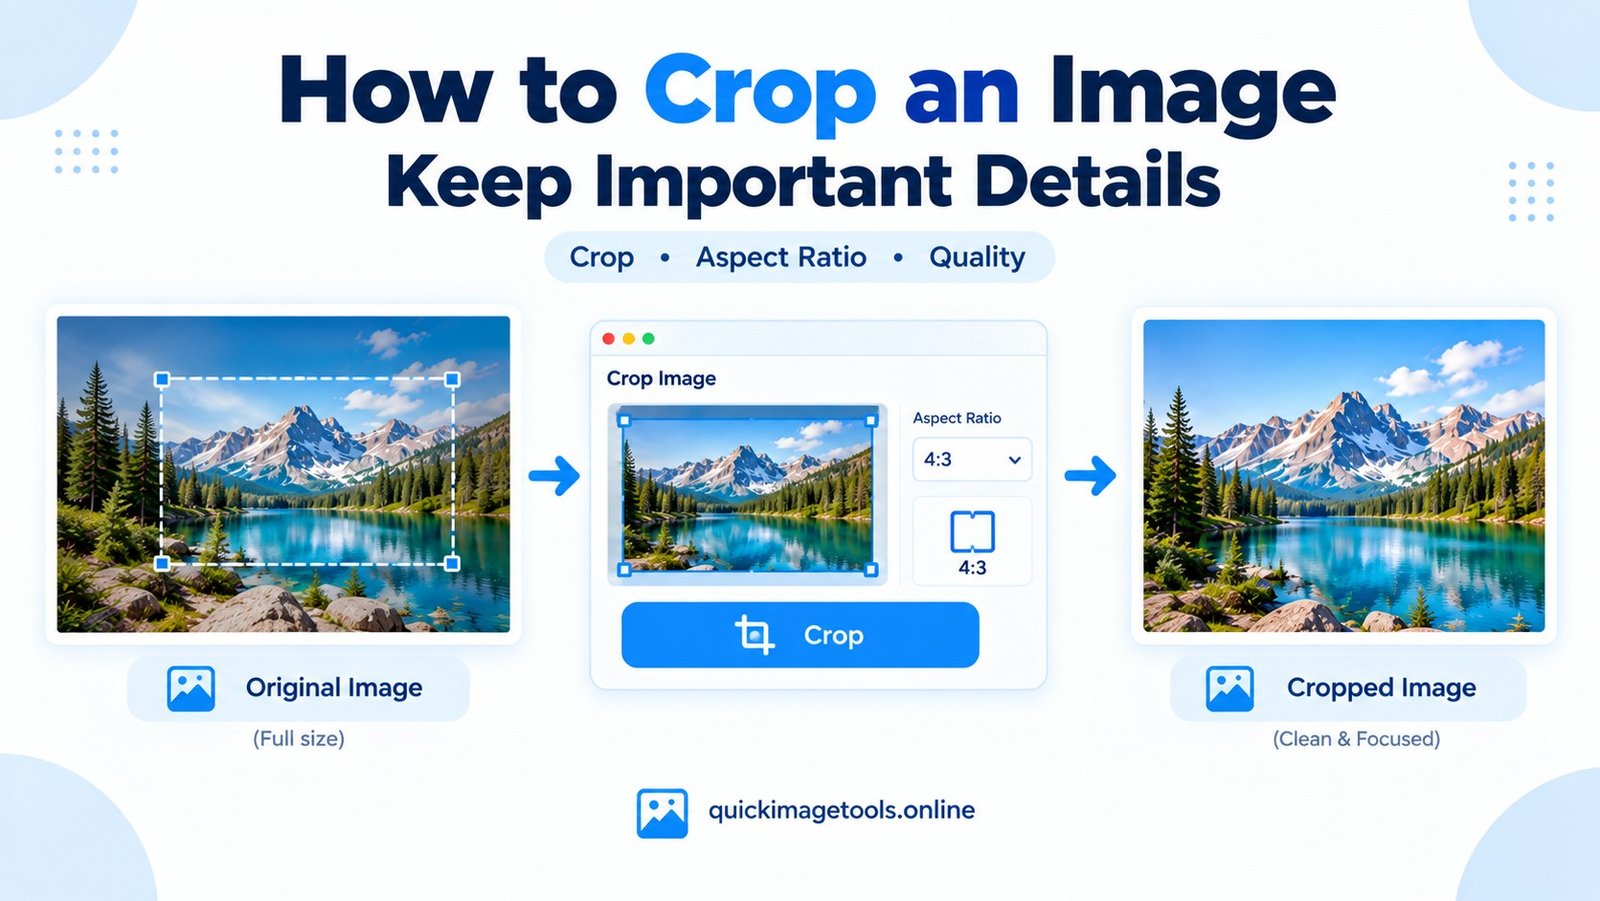
When you crop an image, you remove unwanted areas from the original picture. A good crop can make the subject easier to see and help the image fit a website, social media post, blog or online form.
However, cropping is not simply about dragging a box around an image. The crop can change the composition, dimensions and final file size. Therefore, it helps to understand what you are changing before you save the result.
In this guide, you will learn how to crop an image, how aspect ratios work, how to avoid cutting off important details and what to do after cropping.
What Does It Mean to Crop an Image?
Cropping removes part of an image while keeping the remaining area.
For example, imagine you have a 4000 × 3000 pixel photograph. The main subject occupies only the center of the picture. You can crop away some of the empty space around it.
The result will contain fewer pixels than the original image.
That makes cropping different from resizing. Resizing changes the dimensions of the entire image. Cropping removes part of the image itself.
If you want to change the dimensions without removing part of the picture, use our Image Resizer.
Why Should You Crop an Image?
There are several practical reasons to crop a photo or graphic.
- Remove unwanted objects near the edges.
- Reduce empty space around the main subject.
- Improve the composition of a photograph.
- Prepare an image for a specific layout.
- Create a better thumbnail.
- Fit an image into a required aspect ratio.
- Focus attention on the most important part of a picture.
For example, a landscape photograph may contain a large amount of empty sky. Cropping some of that space can make the main subject more noticeable.
Likewise, a product photo may need a tighter crop before you use it in a blog card or online store layout.
How to Crop an Image Online
You do not need complicated photo-editing software for a simple crop.
Our Image Cropper is designed for straightforward browser-based image editing.
Here is a simple workflow:
- Open the Image Cropper.
- Choose the image from your device.
- Adjust the crop area around the part you want to keep.
- Check the image preview.
- Apply the crop.
- Download the finished image.
Before downloading, look closely at the edges of the crop. Make sure you have not accidentally removed an important part of the subject.
How to Choose the Right Crop
The best crop depends on what you want the image to do.
Keep the main subject visible
Start by identifying the most important part of the image.
If you are cropping a portrait, keep the person’s face and other important details comfortably inside the frame. For a product image, make sure the product remains fully visible unless you intentionally want a close-up.
Do not crop simply because you want a smaller file. If the composition becomes awkward, the smaller file may not be worth the trade-off.
Remove distracting edges
Look around all four edges of the image.
You may find objects, empty areas or background details that pull attention away from the subject. Removing those areas can create a cleaner composition.
Leave some breathing room
A common mistake is cropping too tightly.
Give the subject enough surrounding space to look natural. This is especially important for portraits, people facing sideways and objects that point toward one side of the frame.
What Is Aspect Ratio?
Aspect ratio describes the relationship between an image’s width and height.
For example, a 16:9 image is wider than it is tall. A 1:1 image has equal width and height.
Common aspect ratios include:
- 1:1 — square images.
- 4:3 — a common photo and display ratio.
- 16:9 — wide landscape images.
- 3:2 — common in photography.
The correct ratio depends on where you plan to use the image.
If a website requires a specific shape, cropping can help you reach that ratio without stretching the image.
Crop vs Resize: What Is the Difference?
These two operations are often confused, but they solve different problems.
| Crop | Resize |
|---|---|
| Removes part of an image | Changes the image dimensions |
| Changes the composition | Keeps the entire image |
| Can remove unwanted areas | Can make an image smaller or larger |
| Useful for changing framing | Useful for meeting pixel-size requirements |
Sometimes you need both.
For example, you might crop a photograph to remove unwanted background areas. Then you can resize the cropped image to the dimensions required by your website.
Our guide How to Resize an Image Without Losing Too Much Quality explains the second step in more detail.
Does Cropping Reduce Image Quality?
Cropping itself does not automatically make an image blurry.
However, cropping removes pixels. If you crop away a large part of a photograph and then enlarge the remaining area significantly, the result may lose detail.
For example, suppose an original photograph is 4000 pixels wide. You crop away most of the image and keep an area that is only 700 pixels wide. Enlarging that small section to a very large display size may make it look soft.
Therefore, avoid extreme crops when you know the image will later need to appear at a large size.
How to Crop Without Losing Important Details
A few simple habits can make your crops much better.
1. Start with the original
Whenever possible, crop the original image rather than a previously compressed copy.
This gives you more information to work with.
2. Do not crop too aggressively
Keep enough resolution for the final display size.
If you remove most of the image, the remaining section may not contain enough pixels for a large output.
3. Check the subject’s position
Look at where the subject sits inside the new frame.
A centered crop can work well in some situations. In other cases, placing the subject slightly to one side creates a more natural composition.
4. Check the edges
Look carefully around the crop boundaries.
Avoid accidentally cutting through important objects, faces, text or product details.
5. Save the cropped version separately
Keep your original image if you might need another crop later.
This gives you more flexibility when creating different versions for different layouts.
Should You Crop Before or After Compressing?
In many workflows, cropping first makes sense.
When you crop away unnecessary areas, you reduce the amount of image data that needs to be processed. You can then resize and compress the final composition.
A practical workflow is:
- Crop the unwanted areas.
- Check the aspect ratio.
- Resize the image if necessary.
- Compress the final image.
- Check the visual quality.
- Use the finished file on your website or platform.
For compression, use our Image Compressor.
You can also read our detailed guide on How to Compress an Image Without Losing Too Much Quality.
Which Image Format Should You Use After Cropping?
The best format depends on the type of image and how you plan to use it.
JPG
JPG is commonly used for photographs and other images with many colours.
PNG
PNG can be useful when you need transparency or want to preserve certain types of graphics.
WebP
WebP is another option for websites and can provide a useful balance between image quality and file size.
Our guide JPG vs PNG: Which Image Format Should You Use? explains the differences between JPG and PNG.
You can also learn What WebP Is and When You Should Use It.
If you need to convert the finished image, try our JPG to PNG Converter, PNG to JPG Converter or WebP Converter.
How Cropping Can Help Website Images
Website layouts often give images a fixed space.
A blog card might use a wide thumbnail. Another section might need a square image. A profile area may require a different shape.
Instead of stretching one image to fit every space, create a crop that matches the intended layout.
This keeps the subject’s proportions natural.
After cropping, check the final dimensions and file size. Our File Size Converter can help you understand common file-size units such as KB and MB.
If those units are confusing, read KB vs MB vs GB: What’s the Difference?.
Can You Crop an Image and Rotate It?
Yes. You may sometimes need to correct the orientation before or after cropping.
For example, a photograph taken sideways may need rotation first. Once the orientation looks correct, you can choose a more accurate crop.
Our Image Rotator can help with common 90-degree and 180-degree rotations.
If you need to mirror an image, use the Image Flipper.
Common Image Cropping Mistakes
Cropping too close to the subject
A tight crop can remove useful context and make the image feel uncomfortable.
Leave enough space around important subjects when the design calls for it.
Stretching the image after cropping
Do not stretch the cropped result simply to fill a space.
Instead, choose a suitable crop or resize it while keeping the aspect ratio.
Ignoring the final display size
A crop that looks good on your computer may not work well as a tiny mobile thumbnail.
Check the final version at the size people will actually see.
Overwriting the original
Keep a copy of the original whenever possible.
That way, you can create a different crop later without starting from a lower-quality version.
A Simple Image Editing Workflow
You can combine several basic tools without using complicated software.
Start by cropping unwanted areas with the Image Cropper.
Next, use the Image Resizer if the final dimensions need to change.
Then, compress the image with the Image Compressor if the file is larger than necessary.
Finally, convert the format if your project requires JPG, PNG or WebP.
This approach keeps each task simple instead of trying to solve everything at once.
Other Image Tools You May Find Useful
Cropping is only one part of basic image preparation. Depending on your project, you may also need to convert, rotate, flip or encode an image.
- Image Compressor
- Image Resizer
- Image Rotator
- Image Flipper
- JPG to PNG
- PNG to JPG
- WebP Converter
- Image to Base64
- Base64 to Image
- File Size Converter
You can also visit the complete Image & File Tools collection.
Frequently Asked Questions
What is the easiest way to crop an image?
The easiest method is to use an image cropper that lets you select the area you want to keep. You can then preview and download the cropped image.
Does cropping an image reduce its quality?
Cropping removes pixels, but it does not automatically make the remaining image blurry. Quality can become a problem if you crop away most of the image and then enlarge the small remaining area.
Should I crop or resize an image?
Crop when you want to remove part of the image. Resize when you want to change the dimensions while keeping the image content.
Can I crop JPG and PNG images?
Yes. JPG and PNG are common image formats that can be cropped. The exact formats supported depend on the image tool you use.
Should I crop before compressing?
In many cases, cropping first is a sensible workflow. You can remove unnecessary areas before compressing the final image.
Can I crop an image for a specific aspect ratio?
Yes. A crop can help you create a square, landscape or portrait composition that matches a required aspect ratio.
Can I crop an image without installing software?
Yes. Browser-based image tools can handle simple cropping tasks without requiring a desktop application.
Final Thoughts
Learning how to crop an image is useful for everyday photo and website work. A good crop removes distractions, improves composition and helps an image fit its intended layout.
The key is to crop with a purpose. Keep the important subject visible, avoid cutting away useful details and check the final dimensions before downloading the result.
For a simple workflow, start with our Image Cropper. Then resize or compress the result if needed.
If you want to explore more browser-based image utilities, visit the Quick Image Tool collection.